
Custom Extension Cords
Elevate your Display While Saving Money
Building a Christmas display gets an upgrade when you save money by learning to make your own **cords**. The extension cords available at stores usually don’t meet your requirements because they lack the necessary length you need and provide only a few outlets while their bright orange color disrupts the magic of your holiday display.
You have the ability to craft custom-made cords to meet your display requirements instead of using mass-produced options. You can start this task without any electrical skills. Using basic supplies like wire and plugs from Action Lighting or other suppliers will help you develop a cleaner and more efficient system.
Selecting the appropriate wire will help you design optimal Christmas cords.
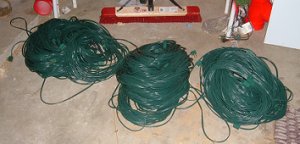
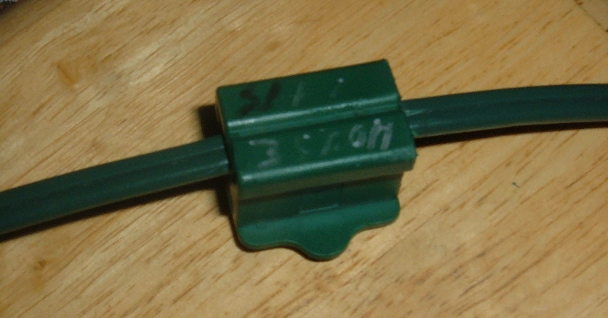
Begin by selecting from the two types of wire which are most commonly used for crafting custom Christmas cords. SPT1 wire supports up to 7 amps while SPT2 wire supports up to 10 amps. The common names for these wires are lamp cord and zip cord. The electrical connection between wires requires “Zip” or “Vampire” plugs which attach by biting into the wire. Always ensure that the plug size corresponds to the specific type of wire you are using. Too big, and the connection won’t hold. Too small, and the plug won’t fit.
Start Your Custom Cord Project
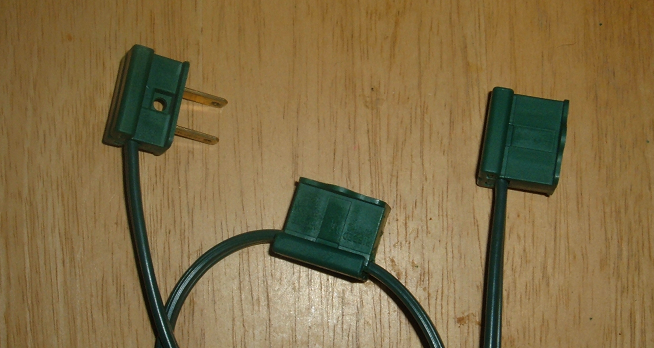
This guide will show you how to create a 6-foot cord with one outlet at the end and another outlet 3 feet from the end. You’ll need one male SPT2 plug, two female SPT2 plugs, three end caps and a piece SPT2 wire cut to the correct length.
Begin by measuring and cutting your wire. Accuracy is crucial, so double-check your measurements. You don’t need to strip the wire; simply remember which side has ribs and which side remains smooth.
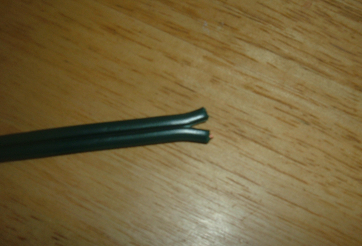
Carefully pull apart the wire strands 1/8 inch apart while keeping the copper cores hidden from view. This process keeps wires separated which helps prevent fires.
Connecting Female Vampire Plugs
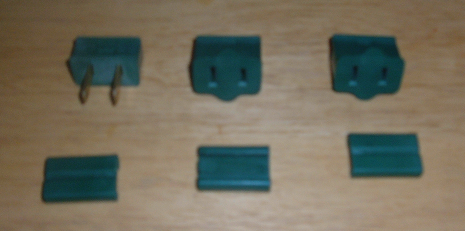
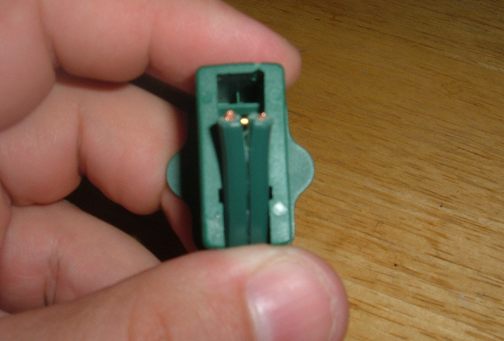
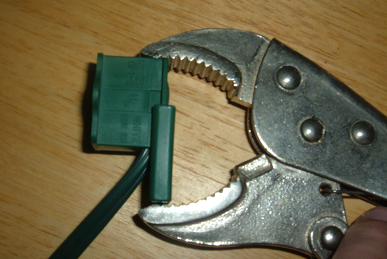
The female plug has a “Ribbed” label to indicate the correct placement for the ribbed wire. The teeth on the plug will align correctly with the wire strands when viewed from above. Place wire ends into plug channels carefully so that the internal divider keeps them apart.
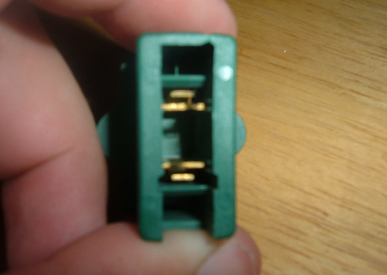
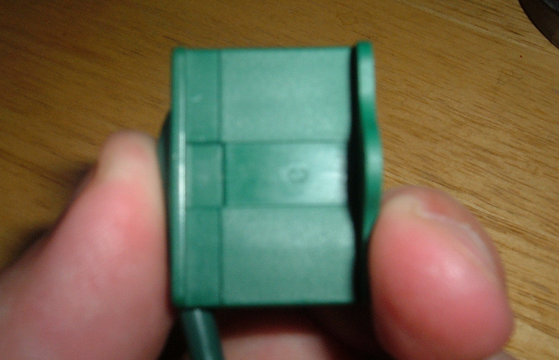
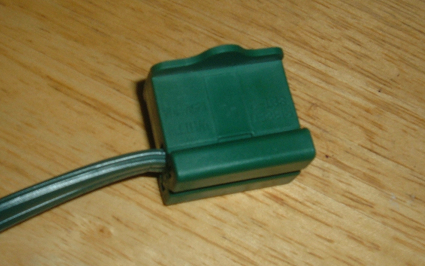
Secure the wire inside the teeth by first folding it down after positioning it correctly. Slide the cap over the plug. When the plug proves difficult to insert use vice grips to carefully apply pressure until it fits properly. Congratulations—you’ve successfully attached a female plug!
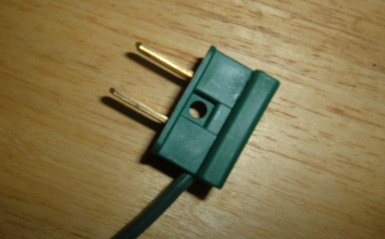
Use the same sequence of steps to create the male plug on the opposite end.
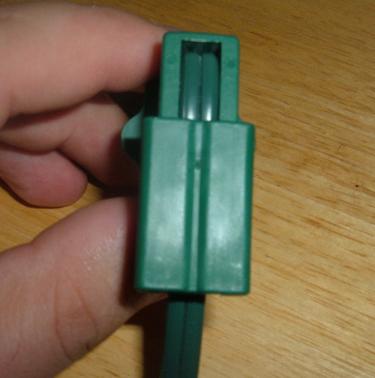
Creating Inline Plugs on Your Cords
Inline female plugs include a pre-cut opening on one side to connect the wire. It is necessary to cut the other end of the plug with precision on your own.
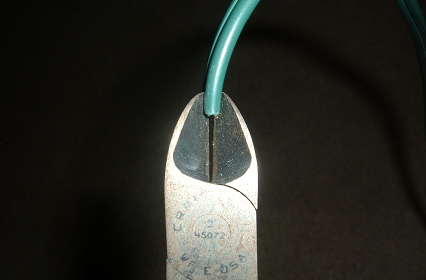
Score the plug with a wire cutter then cut along the groove using a saw blade while maintaining a depth of about 1/4 inch. Remove the plastic to create an opening.

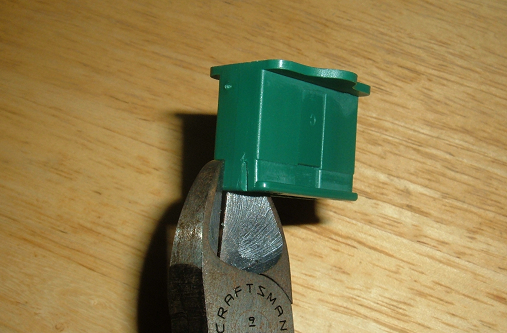
While soldering irons and drills are common tools for this task people find greater control and better consistency when using the saw blade method.


Ryan has made hundreds of inline plugs for Christmas cords which worked perfectly in extensive displays.
Final Touches for Organized Cords
Use a silver Sharpie or a P-touch labeler to mark your plugs. Holiday season cord management becomes simple when setting up and taking down displays.
In no time your customized cords are ready for use! When your project expands from 6 feet to 10 feet beyond your original plan it simply adds to the excitement (plus perhaps a touch of festive magic). You now have the ability to create numerous cords that match your display’s specific length and configuration needs.
Power your Christmas display with the beauty and safety of cords you designed yourself! Have fun!!