

North Poles
We created North Poles years ago and used them in two different ways:
Down the Sidewalk:


Around the perimeter of the yard:

They’re a relatively inexpensive and good-looking decoration to use.
Step 1: The materials below are all you’ll need:

– 4” wide PVC pipe cut to a two foot length. (Home Depot)
– 4” wide PVC collar (Home Depot)
– 6” plastic globe (1000bulbs.com)
– Porcelain lamp holder (Home Depot)
– 15 watt bulb (Shop around for best price)
– 1” blue painter’s tape (Shop around for best price)
– Fire Truck Red Plastic Spray Paint (Shop around for best price)
Step 2:
Sand the printing off of your tube (use fine paper and no electric sander- you could tear up your tube!)
Wrap your PVC pipe with blue painter’s tape to create a “candy cane pattern”. You can use different size tapes if you’d like to create a more realistic effect.

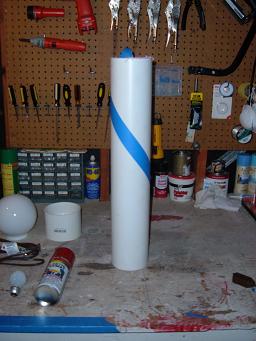
Spray the tube with your red spray paint.

Step 3:
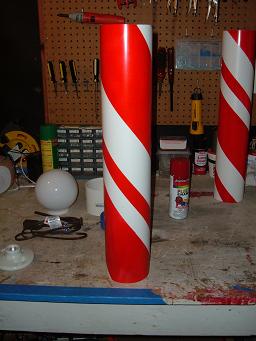
Wait for the paint to dry. Pull off the tape carefully (left) to reveal your candy cane pattern” (right):

Step 4:
Get your collar (left), use your spray paint (middle), to make it look like the final collar (right).

Step 5:
Take your extension cord and clip off the female end. NOTE: Many people reuse these ends on other projects so cut about an inch or two from the plug.

NOTE: You can also make your own custom cords. Learn about that by clicking here.
Step 6:
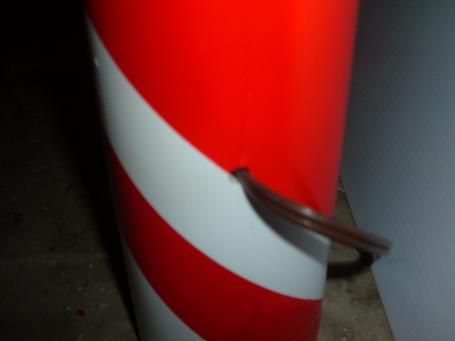
Drill a 5/16” hole six inches from the bottom. Run your wire through it up to the top of the pole.
Step 7:
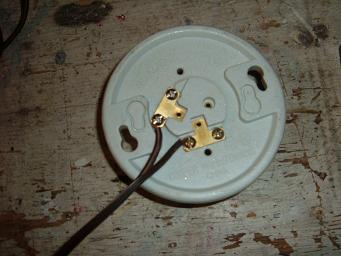
Strip ½” of the wire, screw down to the terminals. Plug in to test.
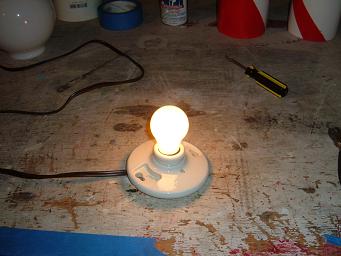
Step 8:
Place the light fixture on top of the tube (you can add a junction box to the bottom of it if you choose). Regardless, it will fit inside of the 4” PVC tube). At that point, you should place the 4” collar over the tube and light fixture. This will hold the light fixture snug between the collar and the tube.


Step 9:
This picture on the left shows what your pole should look like at this point. Now you should place the globe over it:


Step 10:
Place a small amount of silicone around the globe edge. Do not use too much silicone, for 2 reasons: First, it’s simply unattractive. Second, it is easier to simply twist the globe and break the silicone if/when you need to change the bulb.


We’ve had questions over the years about how to place these in the yard:
Option 1: Dig holes 6″ deep and sink the poles in them. We did this our first year but found a much better way the second year…
Option 2: Glue a 1″ piece of PVC inside of the pole. Once dry you simply push your rebard into the ground and then slide the pole over it, using the smaller tube over the rebar to hold it upright.
